Progress continues, now with a case!
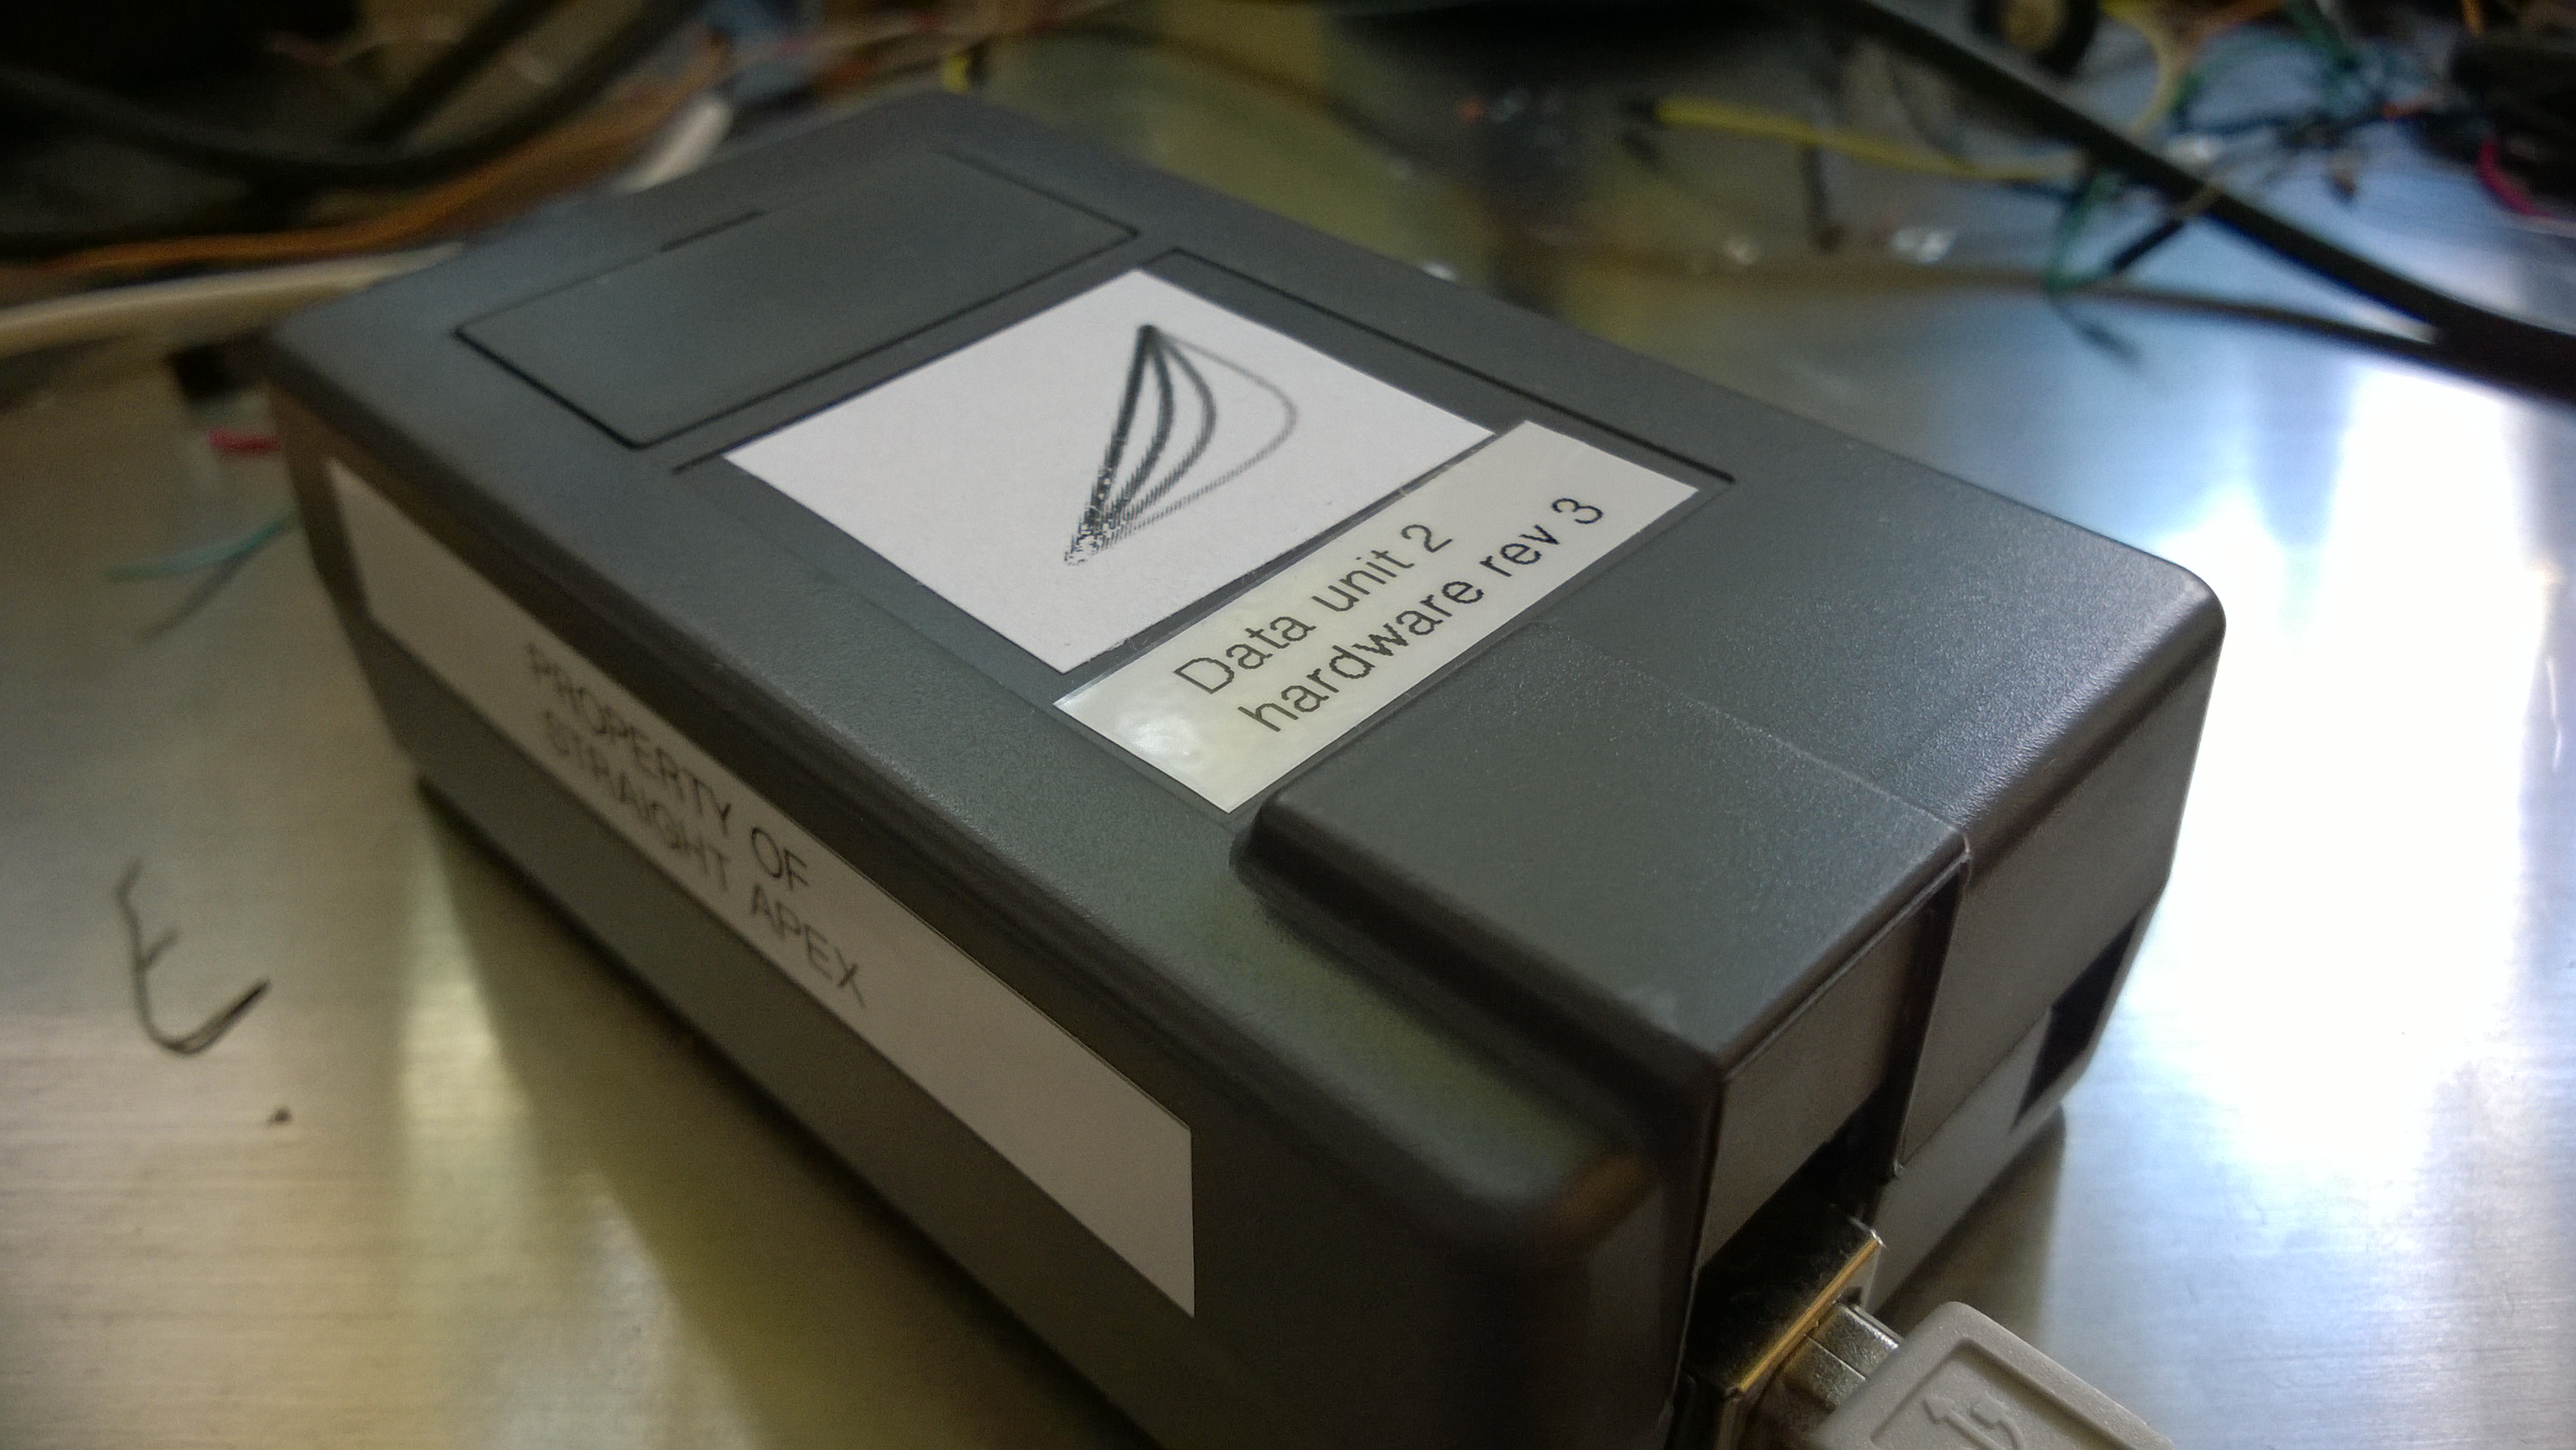
More info: http://straightapex.com/beta-unit-two-hits-the-road/
Progress continues, now with a case!
More info: http://straightapex.com/beta-unit-two-hits-the-road/
First iteration is working! More info at Straight Apex: http://straightapex.com/first-alpha-unit/
Paula and I bought our first flat panel HDTV back in 2005. The 32″ Samsung was initially installed in our San Jose kitchen before making the trip to Dublin, Ireland and the finally to out home in Bellevue. Back in early 2011 we started noticing some weird artifacts on the screen, it looked like the TV was switching all the images to 8-bit color.

It’s not the biggest TV at 32″ and it’s only 720p, but it fits perfectly in our bookshelf so I decided I’d try to fix it. I’m no electrical engineer, but I have a screw driver and an inquisitive spirit. What else would I need… other than a night in a Holiday Inn Express?
I started trying to debug it and pretty quickly came to the conclusion it was a heat issue. My first guess was dust had built up on a heat sink somewhere inside the set. I couldn’t see anything obvious through the vents in the top or bottom, but I tried a few blasts of compressed air to see if it changed anything. It didn’t. If I couldn’t clean it from the outside I’d clean it from the inside, so I opened up the TV. I learned something that is probably obvious to most: opening up a television is a lot like popping the hood on a broken car… it’s satisfying but also pointless act for 99% of the population (and I’m certainly not in the 1%).
What did I find when I opened up the TV? What I didn’t find was dirt. Sure, it was a little dusty, but nothing that looked like it would be choking the life out of our TV. I was, however still convinced the issue was cooling I decided to try increasing the airflow. My plan was simple, slap some small PC case fans on the top of the TV and block off the rest of the top vents to make sure air was pulled from the bottom and not just flowing in from around the fans.
Armed with a sheet of black polypropylene from TAP Plastics and a set of four 50mm case fans I went to work on my TV. I carved up the plastic, screwed the fans in place then duct taped the whole thing to the top of the TV. My improvised fan and baffle worked (almost) perfectly, the TV can now run as long as we like without the picture going all wonky on us.
I say it was “almost” perfect because it was a prototype… the plastic was too thin and the duct tape wasn’t a great hold and had to be redone every couple months. It was, however, good enough that it was on the back of the TV keeping it going for the past three years.
The solution was great in concept but lacking in execution. It was high time to turn the prototype into a finished product so I headed back to TAP plastics and picked up a piece of scrap acrylic for the bargain price of $0. Because I already had a great template in the form of the prototype it was quick to transfer to the new plastic stock.
The finished product is solidly built and screwed directly to the TV (no more slipping!). It actually has way more attention to detail than a hidden hack has any right to be. I suppose I’ll just have to spend more time looking at the back of our TV.

My tweeting washer and dryer have been running great for a bit now and I’ve done some code cleanup to make it less embarrassing to share. The code attached to the post is designed to use an Arduino Ethernet shield, not the WiFly module from the original example. If you already changed your tweeting dryer to use an Ethernet shield you can probably just download this code and upload it with little-to-no modification.
Download the Arduino code, circuit diagram and PHP files from my Git repo: WasherDryerMessenger
I’ve added a number of things to my code which weren’t in the original. I have, however, put them behind configs so I believe you should be able to use the code without hardware changes.
Here are two relevant configs at the top of the code:
If you want to have a tweeting washer as well as dryer, the hardware change you’ll need to make is to duplicate the current sensing circuit already in place for the dryer and add a third LED. In the diagram below left I have recreated the original circuit from Thomas’s Dryer Messenger in breadboard format (click for full size). On the right I show the added washer circuit (note: Ethernet shield not shown for simplicity).
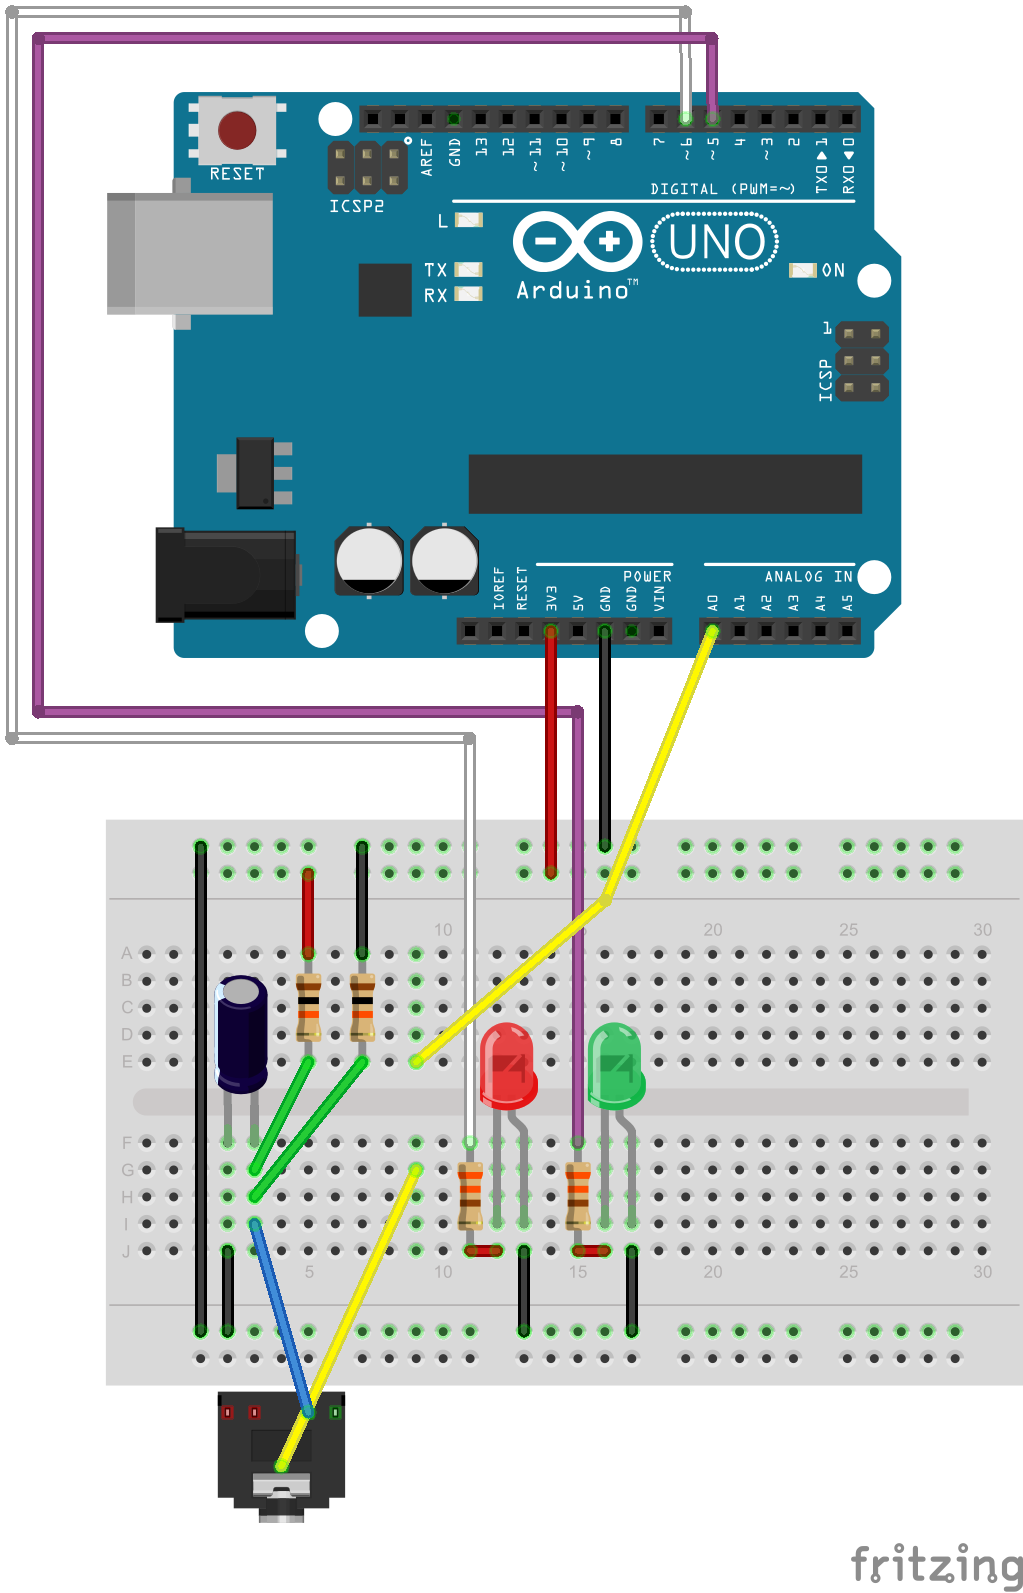
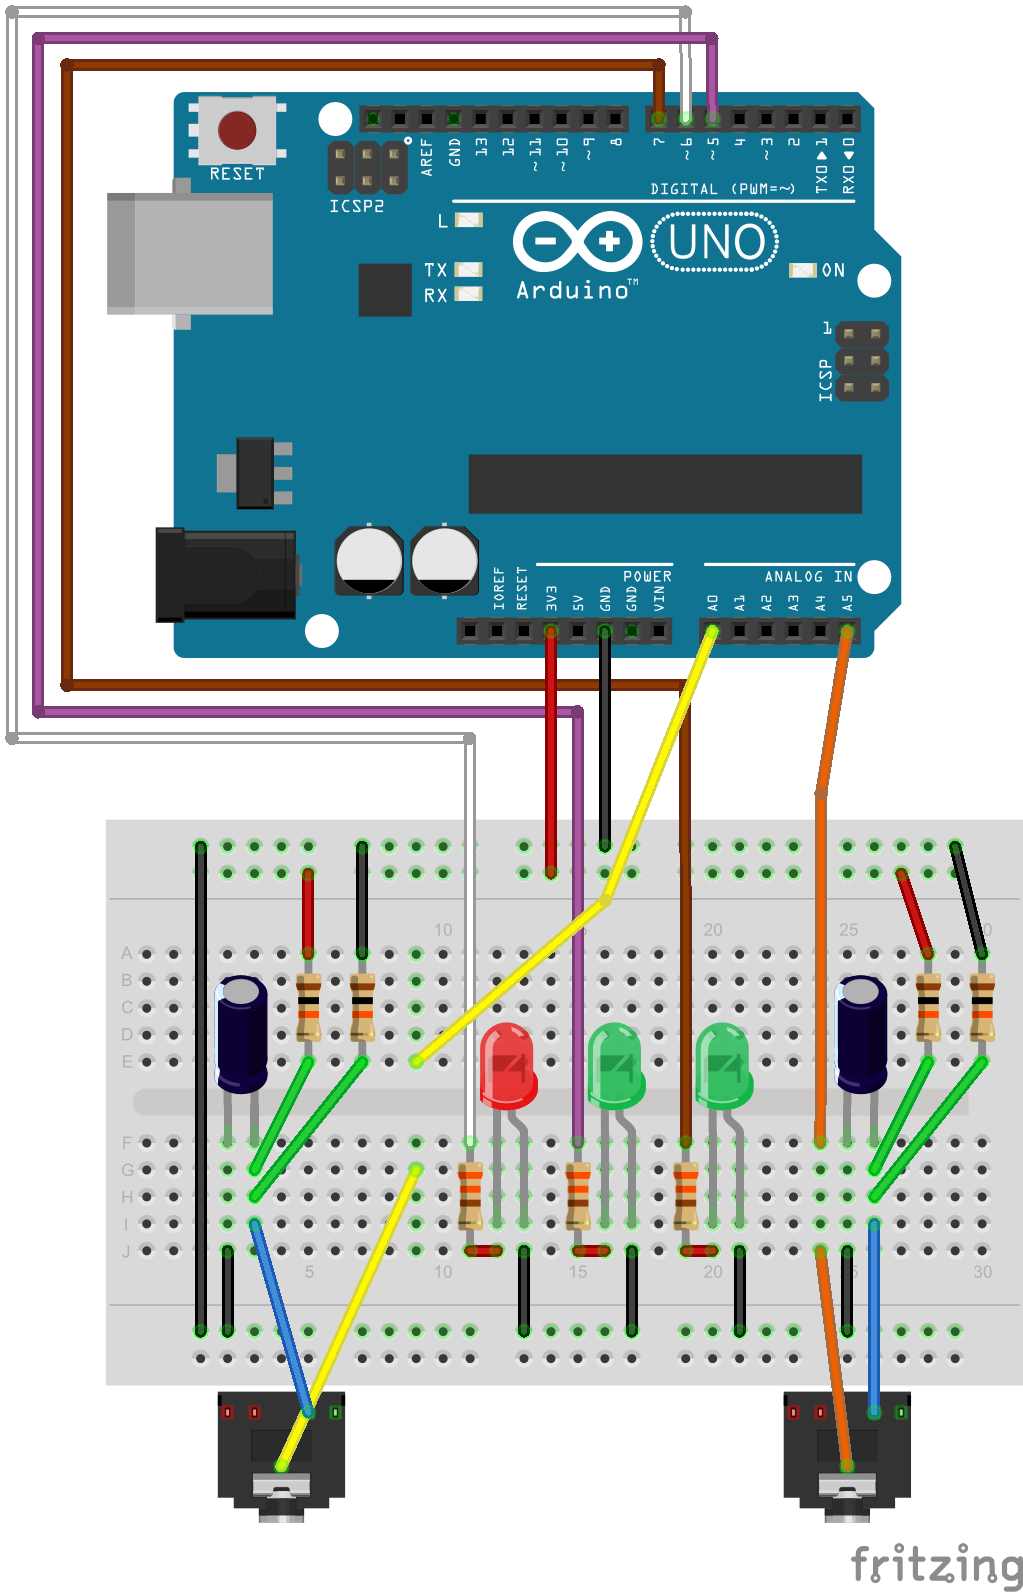
When you finish the modified circuit you can test it by plugging the dryer into the new transformer jack and updating the dryer pin setting in the code. Only after you’ve tested the hardware should you plug in both appliances and turn on the washer tweeting using the WASHER define (see the configuration notes earlier in this post). If you want the same account to tweet both washer and dryer status you can duplicate your dryer OAuth token for the washer on line 103. I elected to have separate handles for my washer and dryer and obtained a second OAuth token from Arduino-tweet.appspot.com.
At this point you should have a tweeting washer and dryer but you’ll notice the tweets are the same every time and rather boring. To add variety back to your tweets you should follow my instructions for enabling the WEBMSG for getting random tweets from a database on the web: Getting a random string from MySQL for Arduino.
Have you added a washer to your setup? Share your washer’s twitter handle in the comments below.
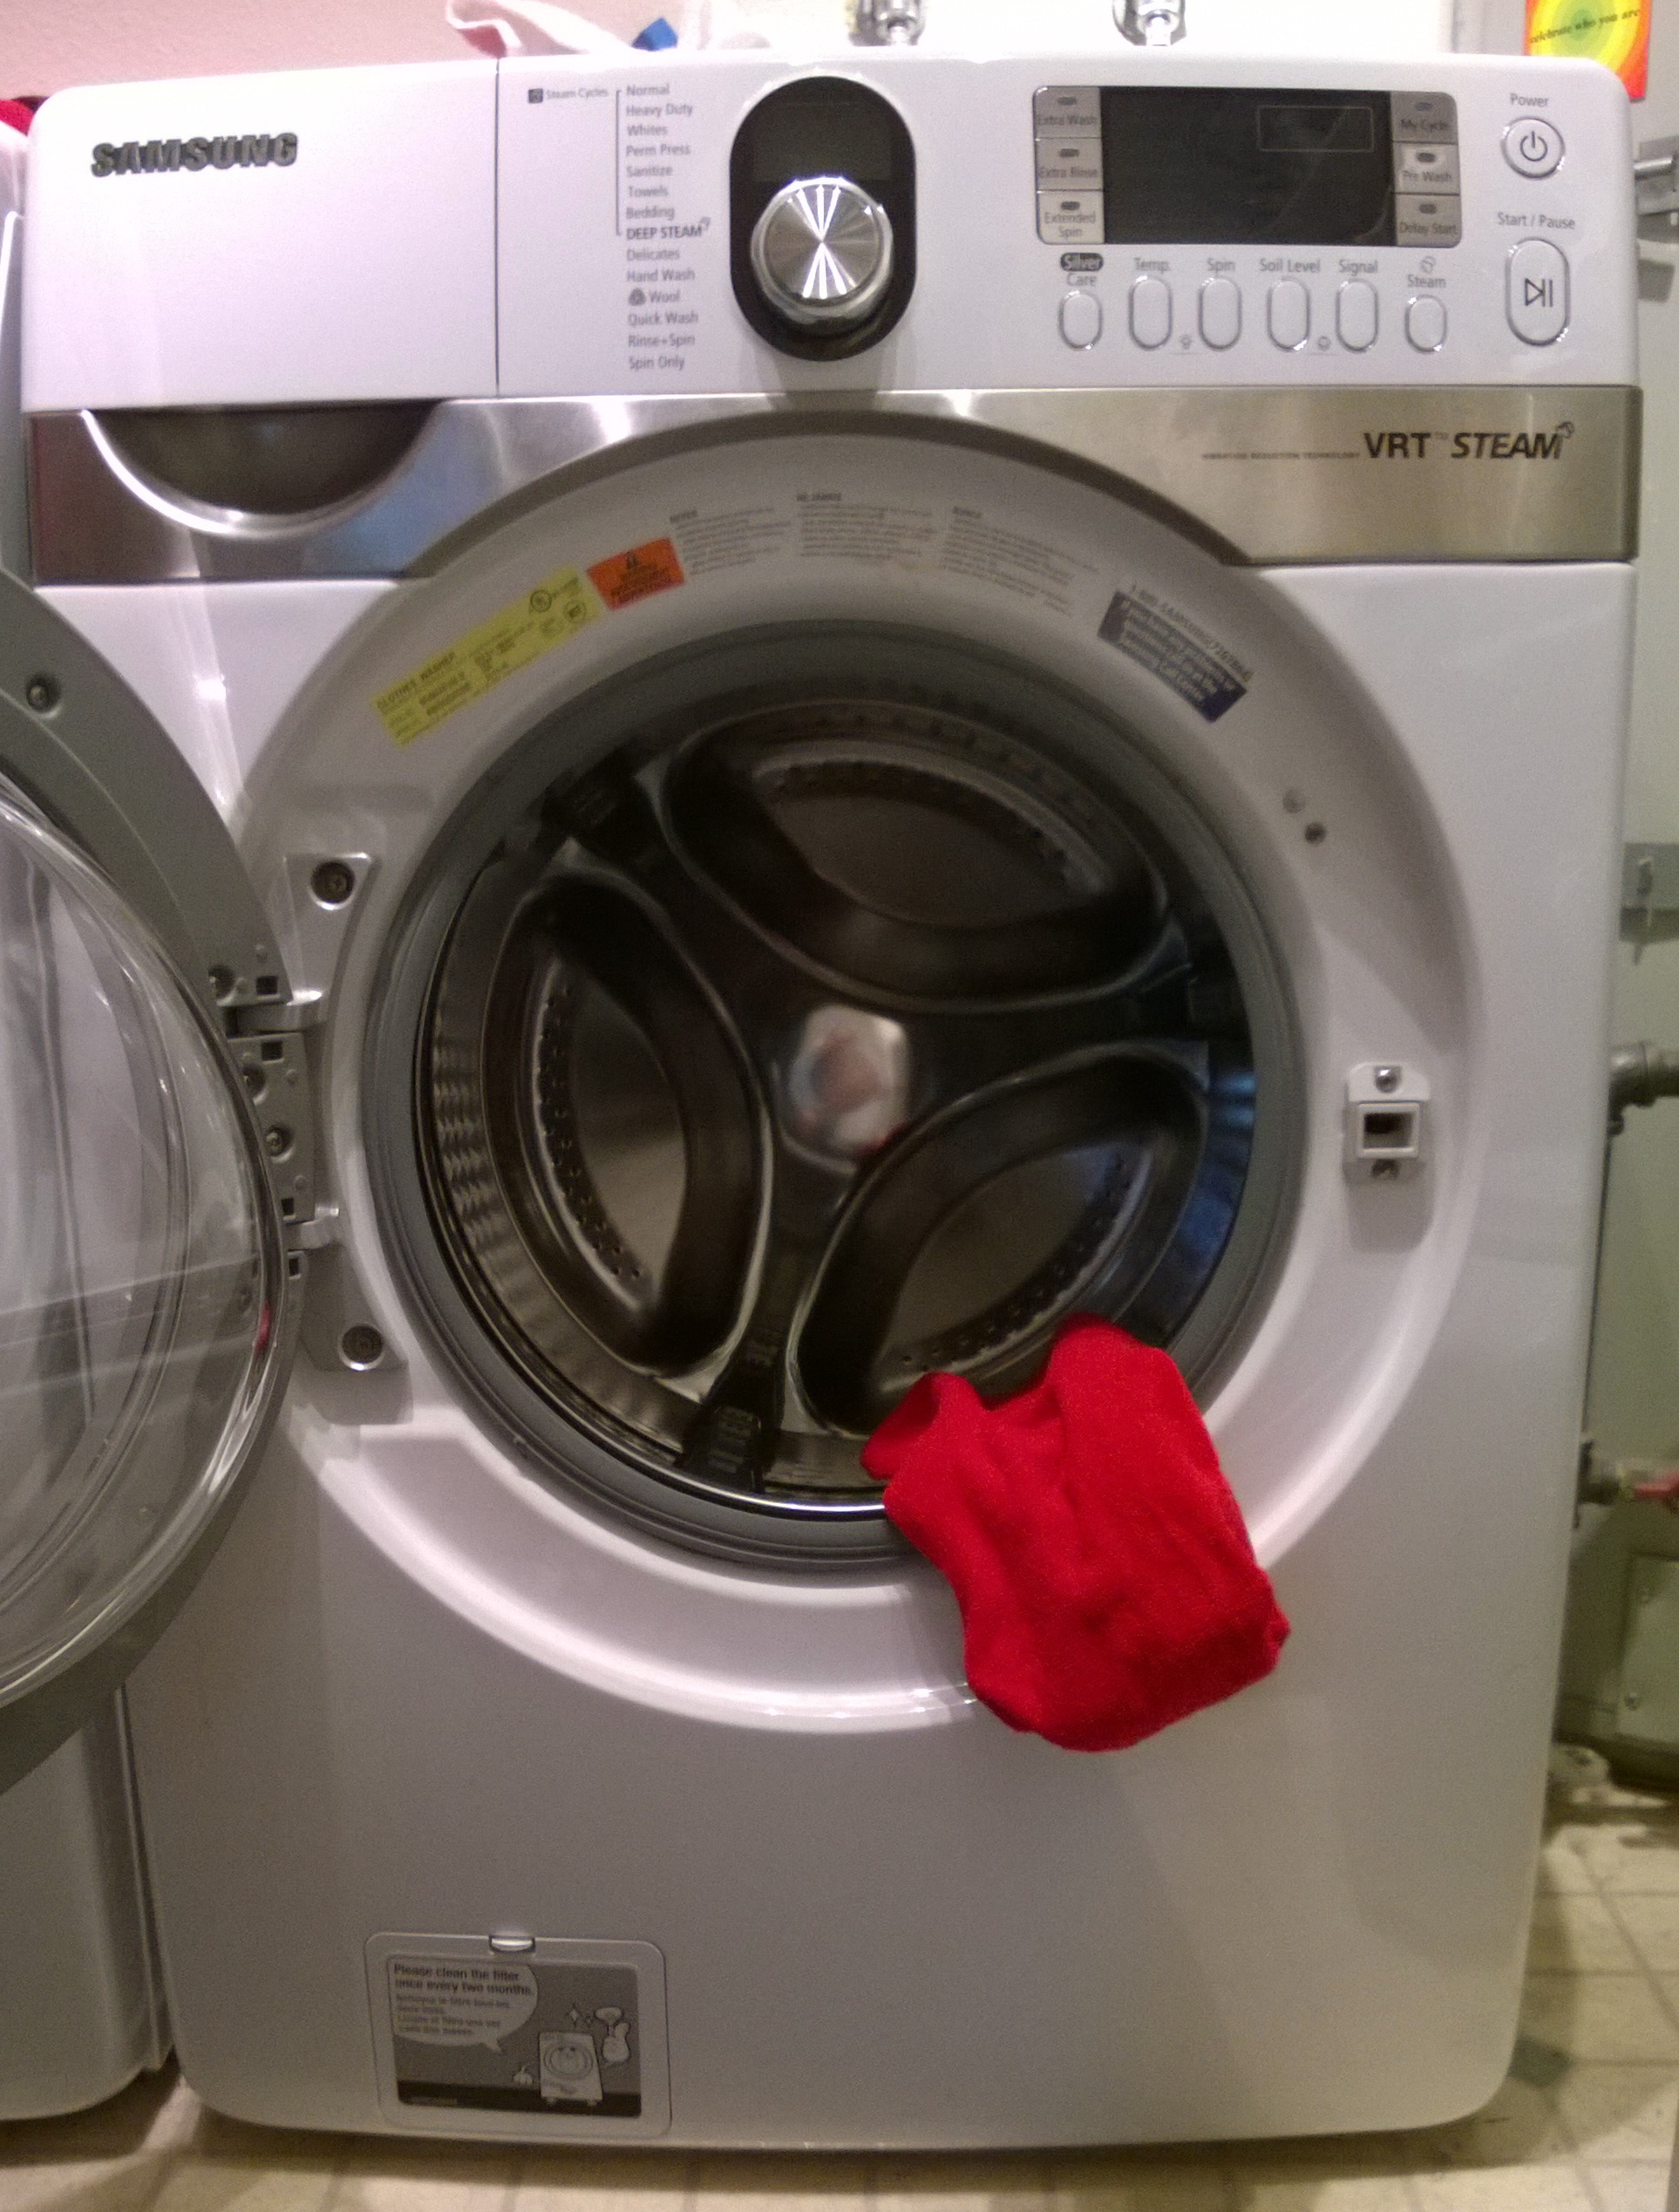
Hallelujah! Today I finally finished adding washer monitoring functionality to the tweeting dryer setup I built earlier (see: Getting started with Arduino). Say hello to Gus!
My implementation was built up from the excellent work by Thomas Taylor for his article in Make, The Dryer Messenger. It provided a great starting point for this project but I wanted a bit more… I wanted to have my washer tweet and I wanted the washer/dryer quotes to be pulled from the web. Should be simple enough, right? I was thinking that after I added an additional connection to the hardware configuration that it should be as easy as duplicating the dryer code and renaming some functions. However, nothing is never that easy. My optimistic guess was that I’d add 100 lines of code and in the end it was more like 300. It was a fantastic learning experience.
A quick overview of my upgrades:
I’ll share out my code, an updated circuit design as well as a quick write up on how I’m pulling random strings from the web. Right now, however, I need to go do a load of laundry.
Akismet is a WordPress plug-in for controlling comment spam, if there are any questionable comments they will be held for moderation. While I do need to sort through a few junk comments every couple of weeks, there’s a bunch more I never need to even bother with. Any comment which is obviously spammy goes right into the junk folder and is never even presented for moderation. No muss, no fuss. You really should have Akismet enabled if you’re running WordPress… or Drupal, or Joomla, or Mediawiki or any other platform which supports Akismet.

Just how useful is it? This evening while I was reviewing some of the spam comments on my blog I took a look in the spam folder and was shocked to find that in the past week my blog has received almost 6,000 spam comments. Holy cow that’s a lot of junk.
In the old days I would have set commenting on old posts to time out and cull through new comments to delete the junk. The volume was never this huge, but it was still a pain. Thanks to Akismet I didn’t have to sort through a single bit of the garbage.
I started running Akismet a long time ago and only just now realized what a massive time saver it’s been over the years. Thanks Akismet and Automatic!
Our front hall light has three switches, downstairs, upstairs and on the landing by the front door. I finally got tired of having to run up and down the stairs to adjust the dimmer so this weekend up replaced the three rocker switches with some smarter components which allow me to adjust the light level from any of the three switches, no more running up and down stairs. Ah… laziness is such a great motivator.
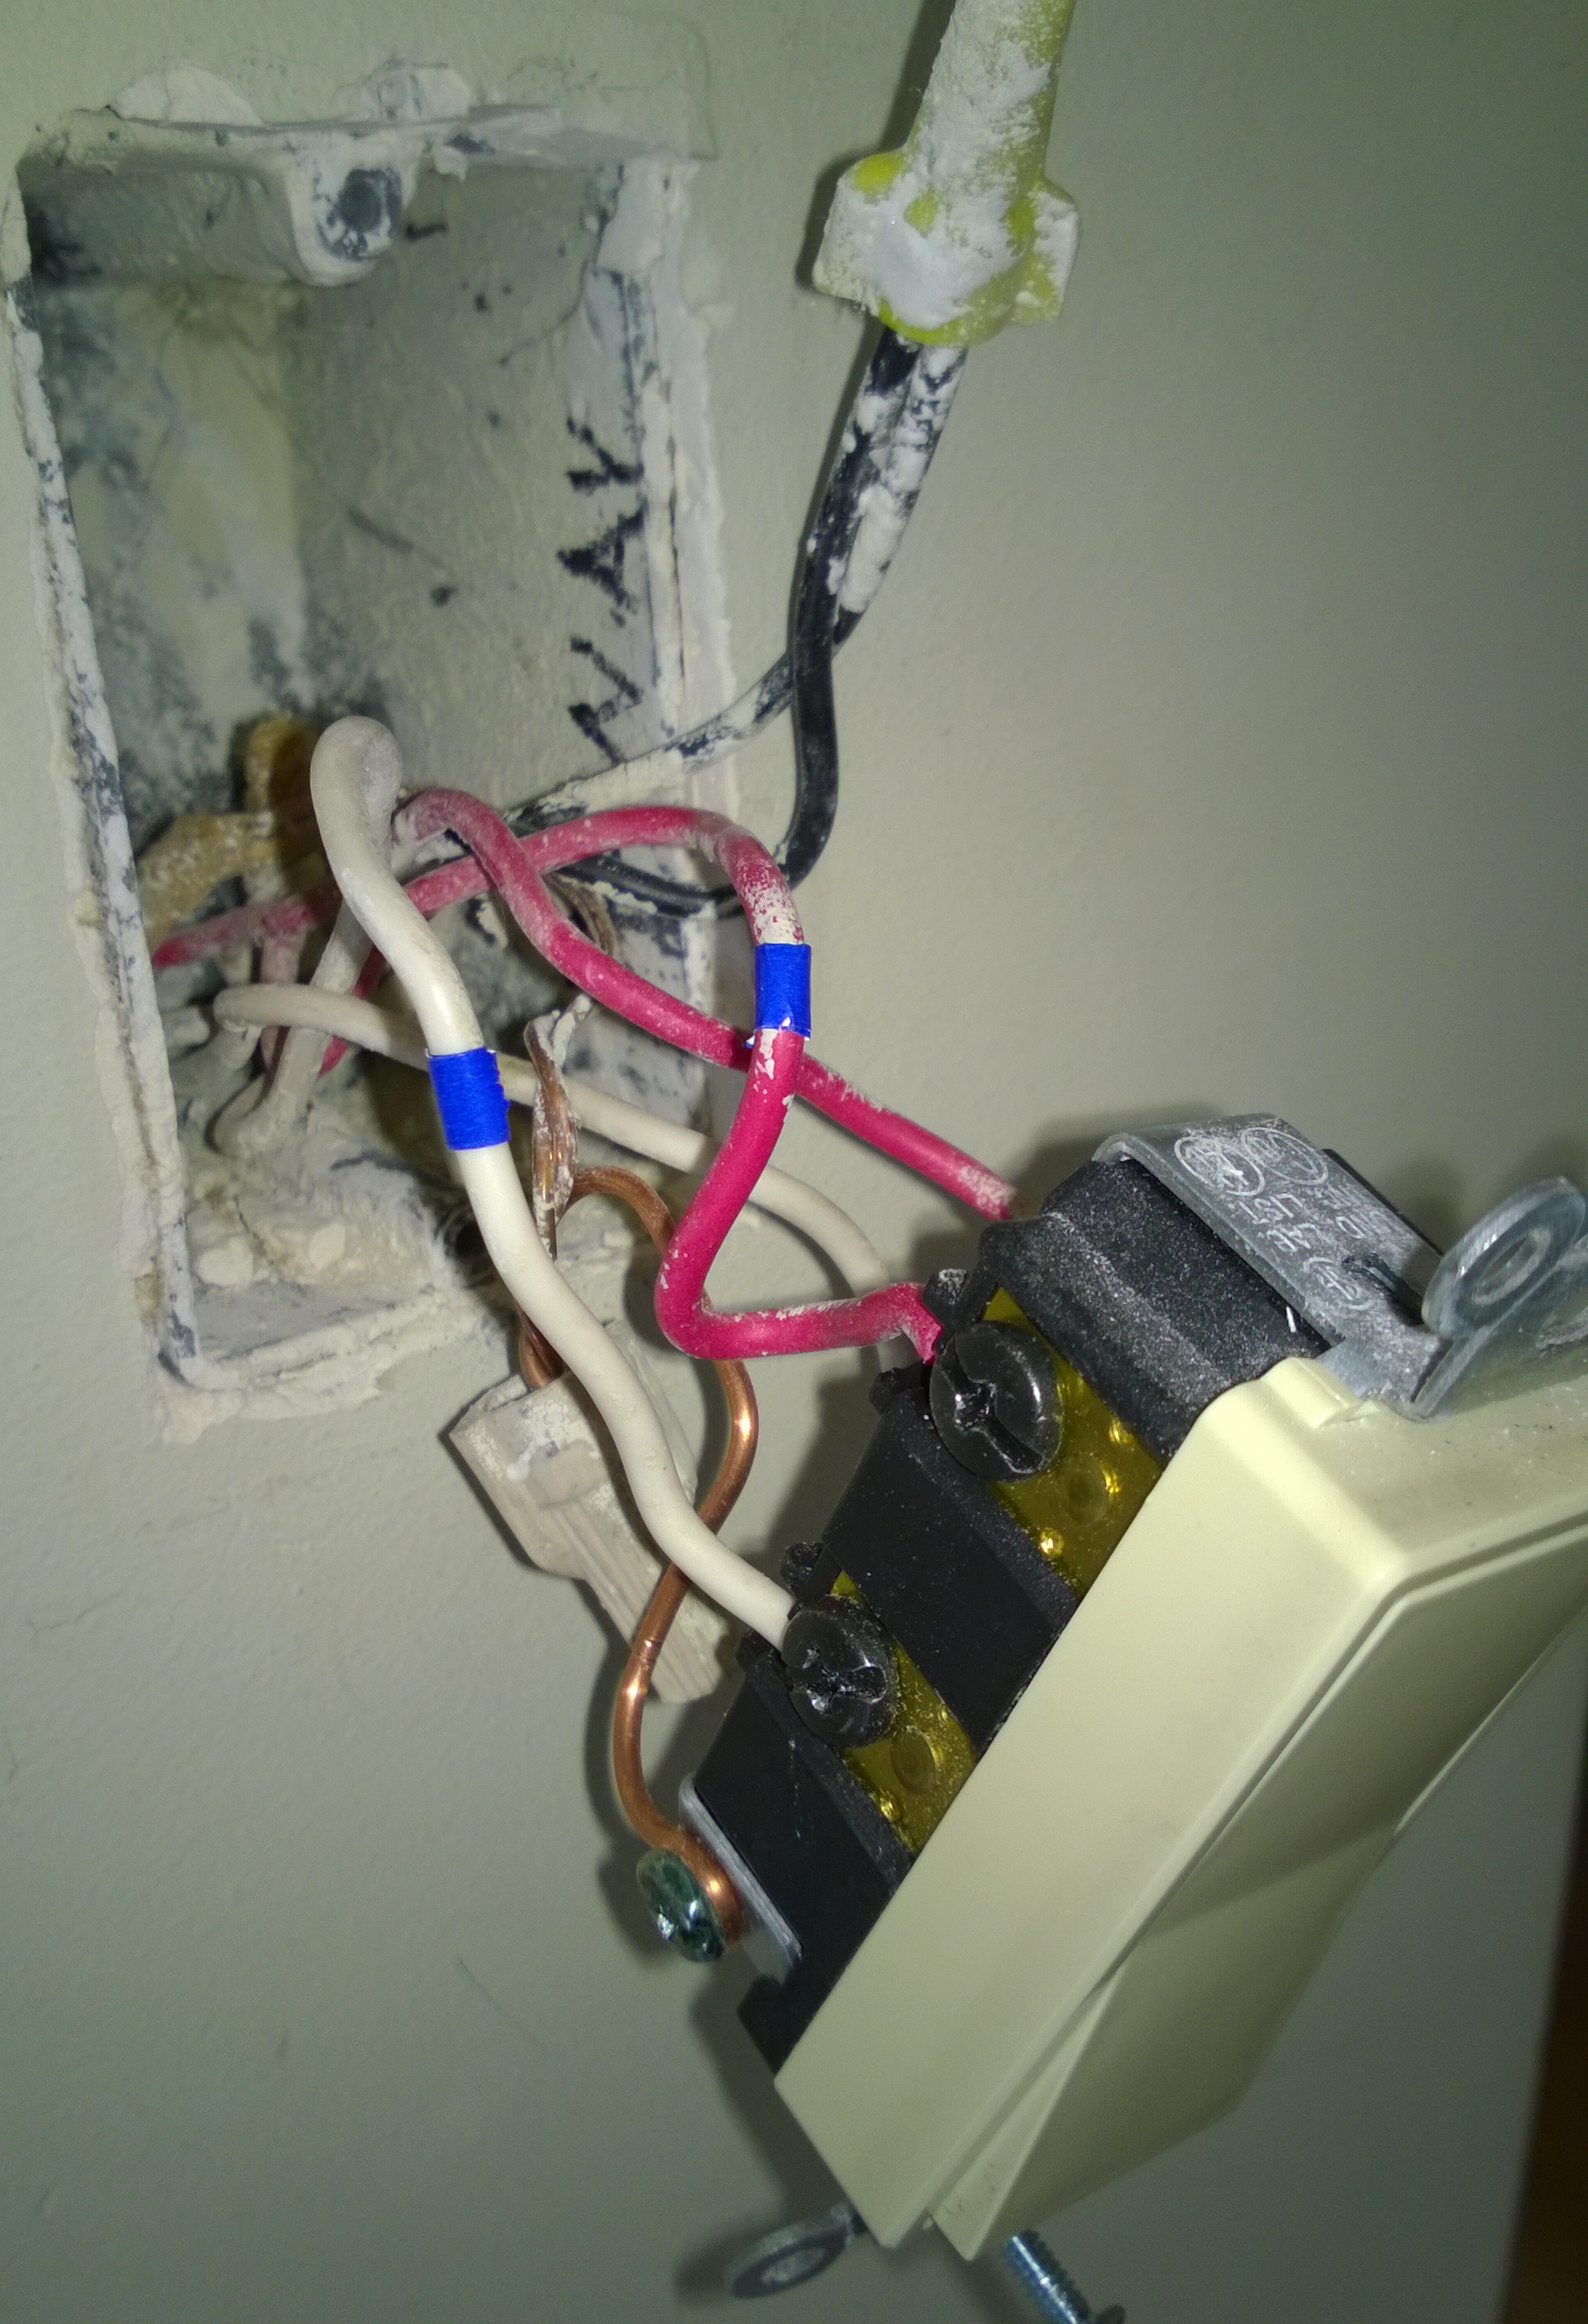
Replacing light switches is generally pretty simple… but replacing a four-way circuit was something new to me. A key thing to understand: the number in “3” and “4”-way switches has nothing to do with the number of light switches, it has to do with the number of switched wires. In my entryway I have three light switches… the circuit is, however, made up of two 3-way switches and one 4-way switch. I wasn’t quite sure what makes a four-way circuit work but thankfully came across an excellent animation by Rick Mathews which completely demystified 4-way switches.
So, a bit of studying on the internet, a bit of wiring, a bit of testing, a bit of finding the lights don’t work and a bit more wiring… I’m now a happy, lazy nerd.

On more than one occasion I’ve wanted to open something up, only to find it has some weird fastener put in place to keep me out. I can understand wanting to keep thieves and vandals out, but I’m perfectly capable of fixing a rusted cable connection hiding behind my provider’s special box (and certainly don’t want to pay the cable company $120/hr to do it).

I bought this set of security bits off Amazon about a year ago and it continues to prove useful again and again. It’s worth noting that not all the bits are security bits. A nice surprise that came in the mix: a bit for turning wing nuts.
I highly recommend this set. Even if you never need the security bits, the hex bits make assembling Ikea furniture a snap. Your wrists will thank you.
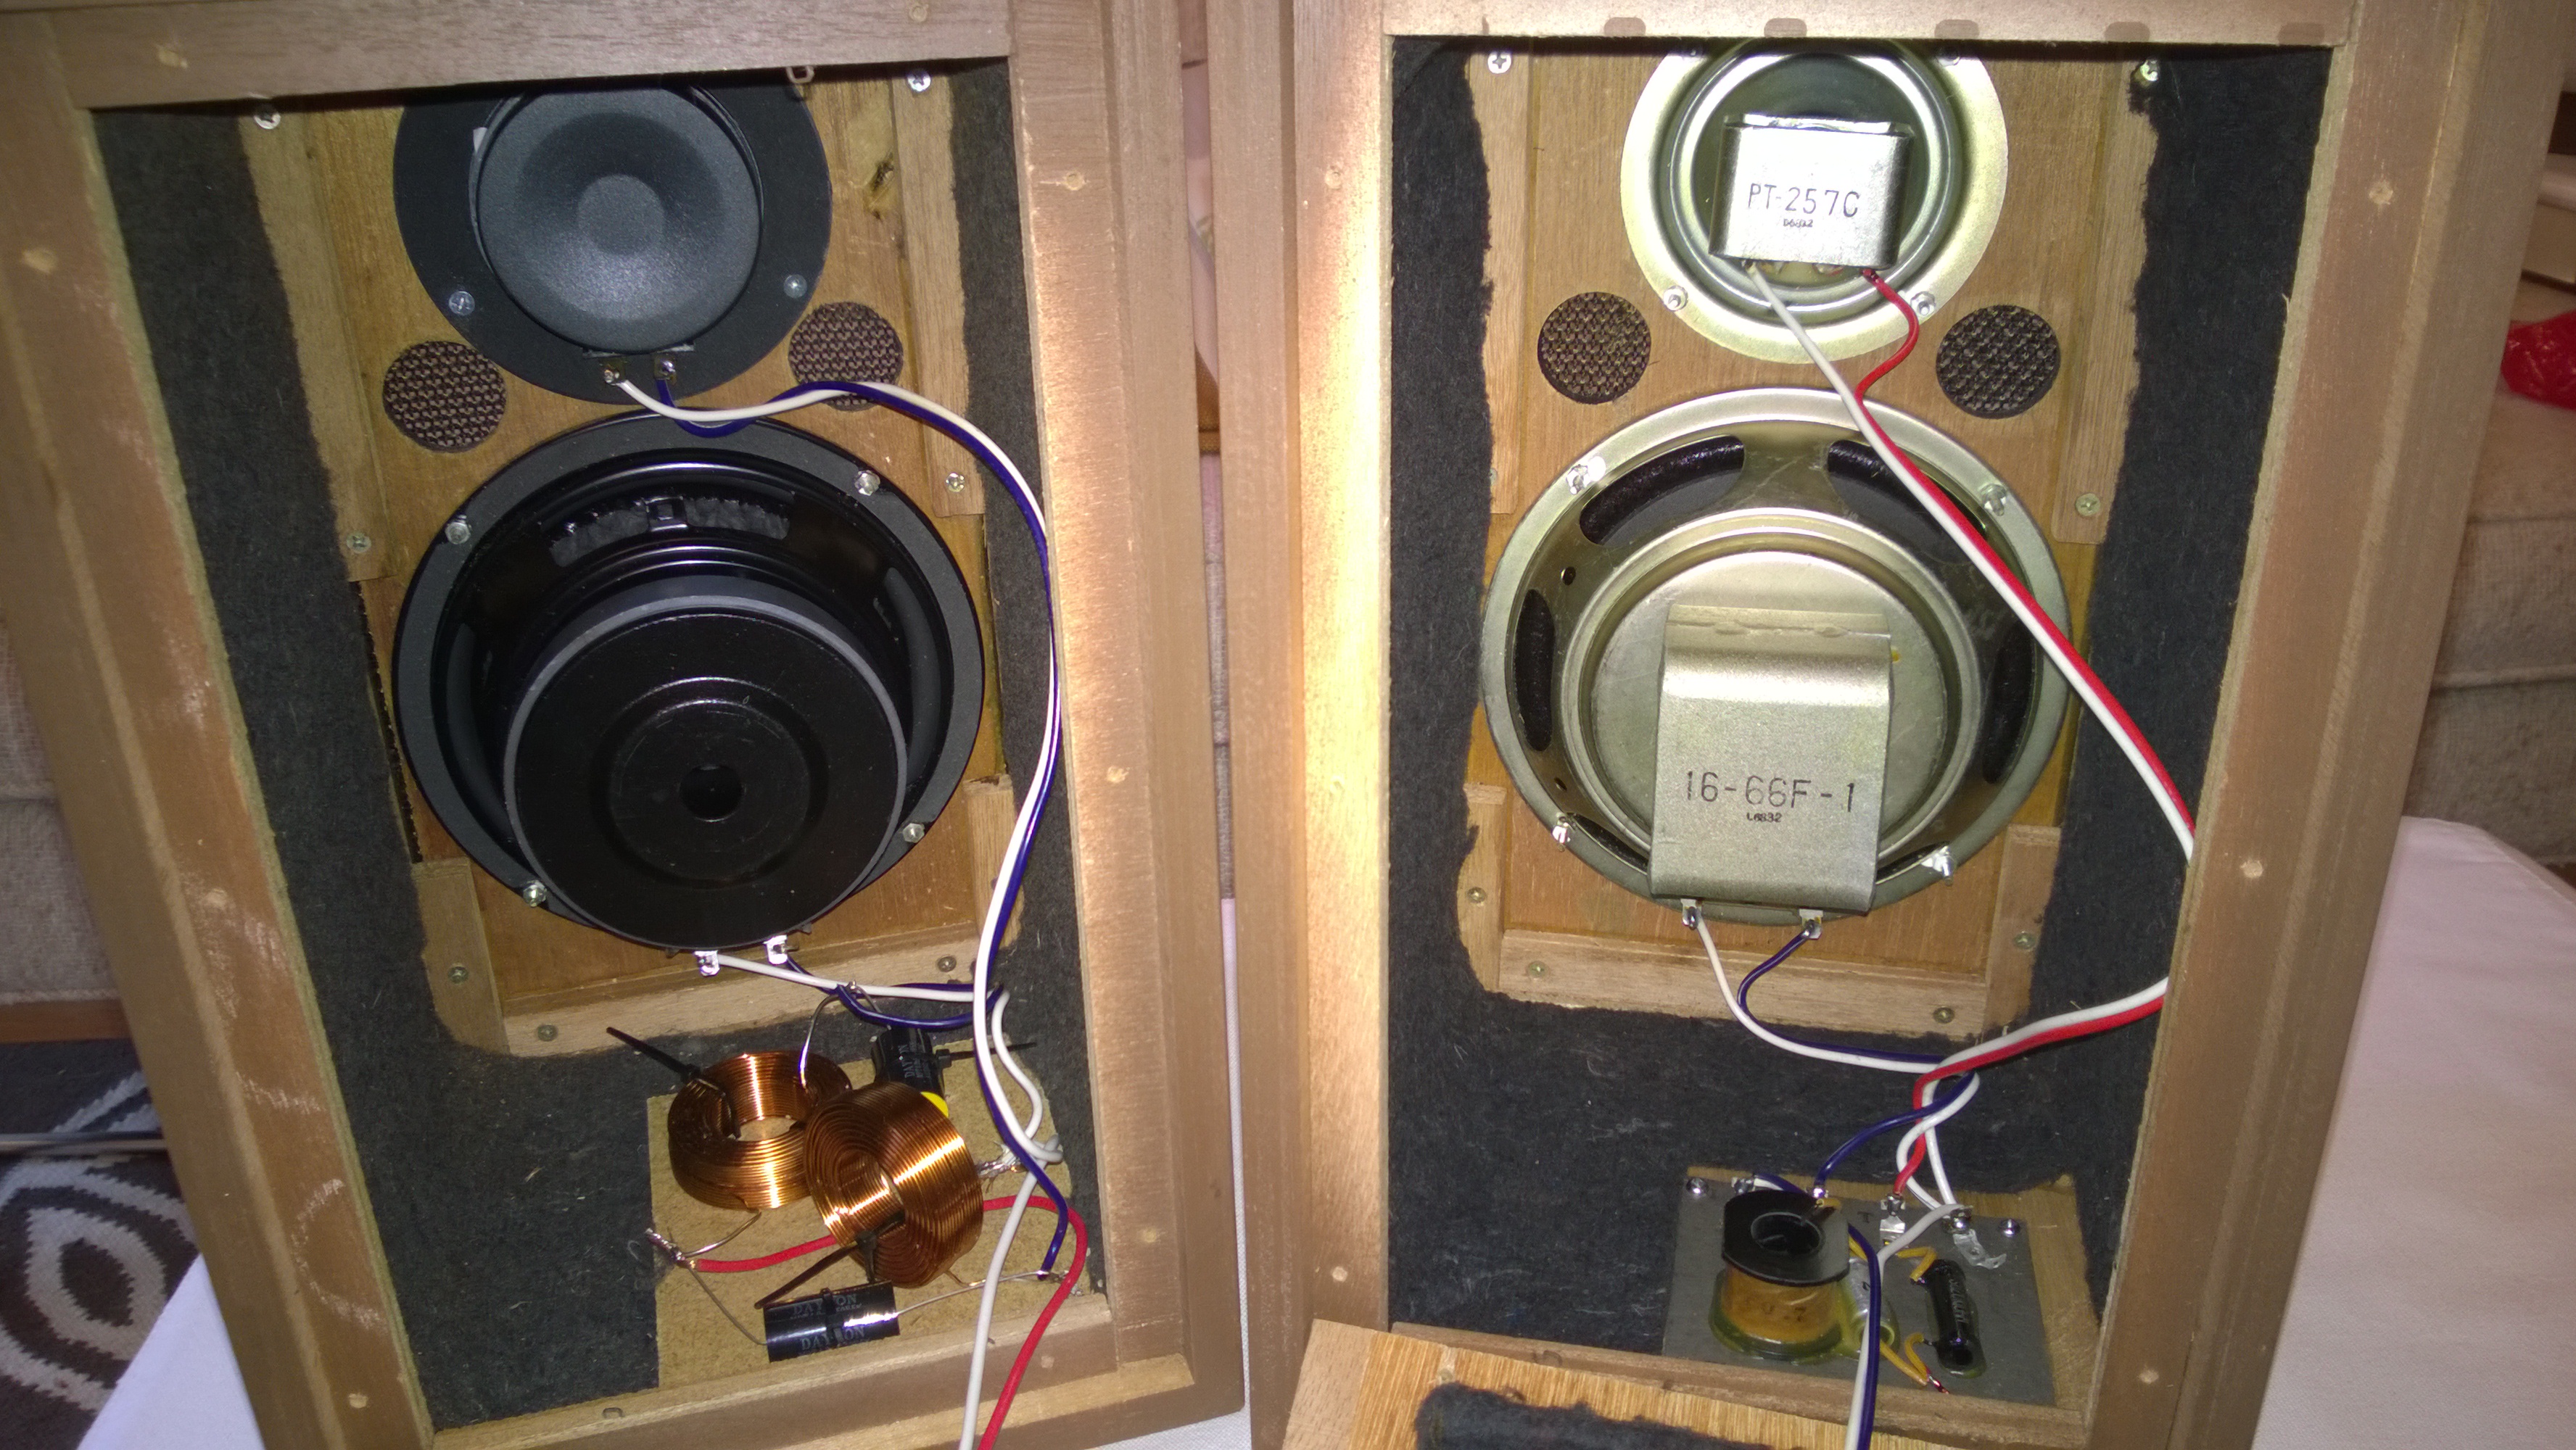
I’ve ticked one more thing off my list of nerdy things I’ve been wanting to try: building speakers. Admittedly, I didn’t do the full building experience this time, choosing instead to start with an existing set of speaker cabinets and upgrading them. It was a great way to start learning about the hobby.

This project moved from the “someday” to “now” project list when Paula and I came across a pair of retro-looking bookshelf speakers at Goodwill. The speakers weren’t high quality and they could have been blown out for all I knew, but they looked kind of cool and the price was right. At under $20 they were less than wood and speaker grill cloth to build my own cabinets, so we picked them up and headed home to try them out. I was pleased to find out that my newly purchased speakers were completely blown.
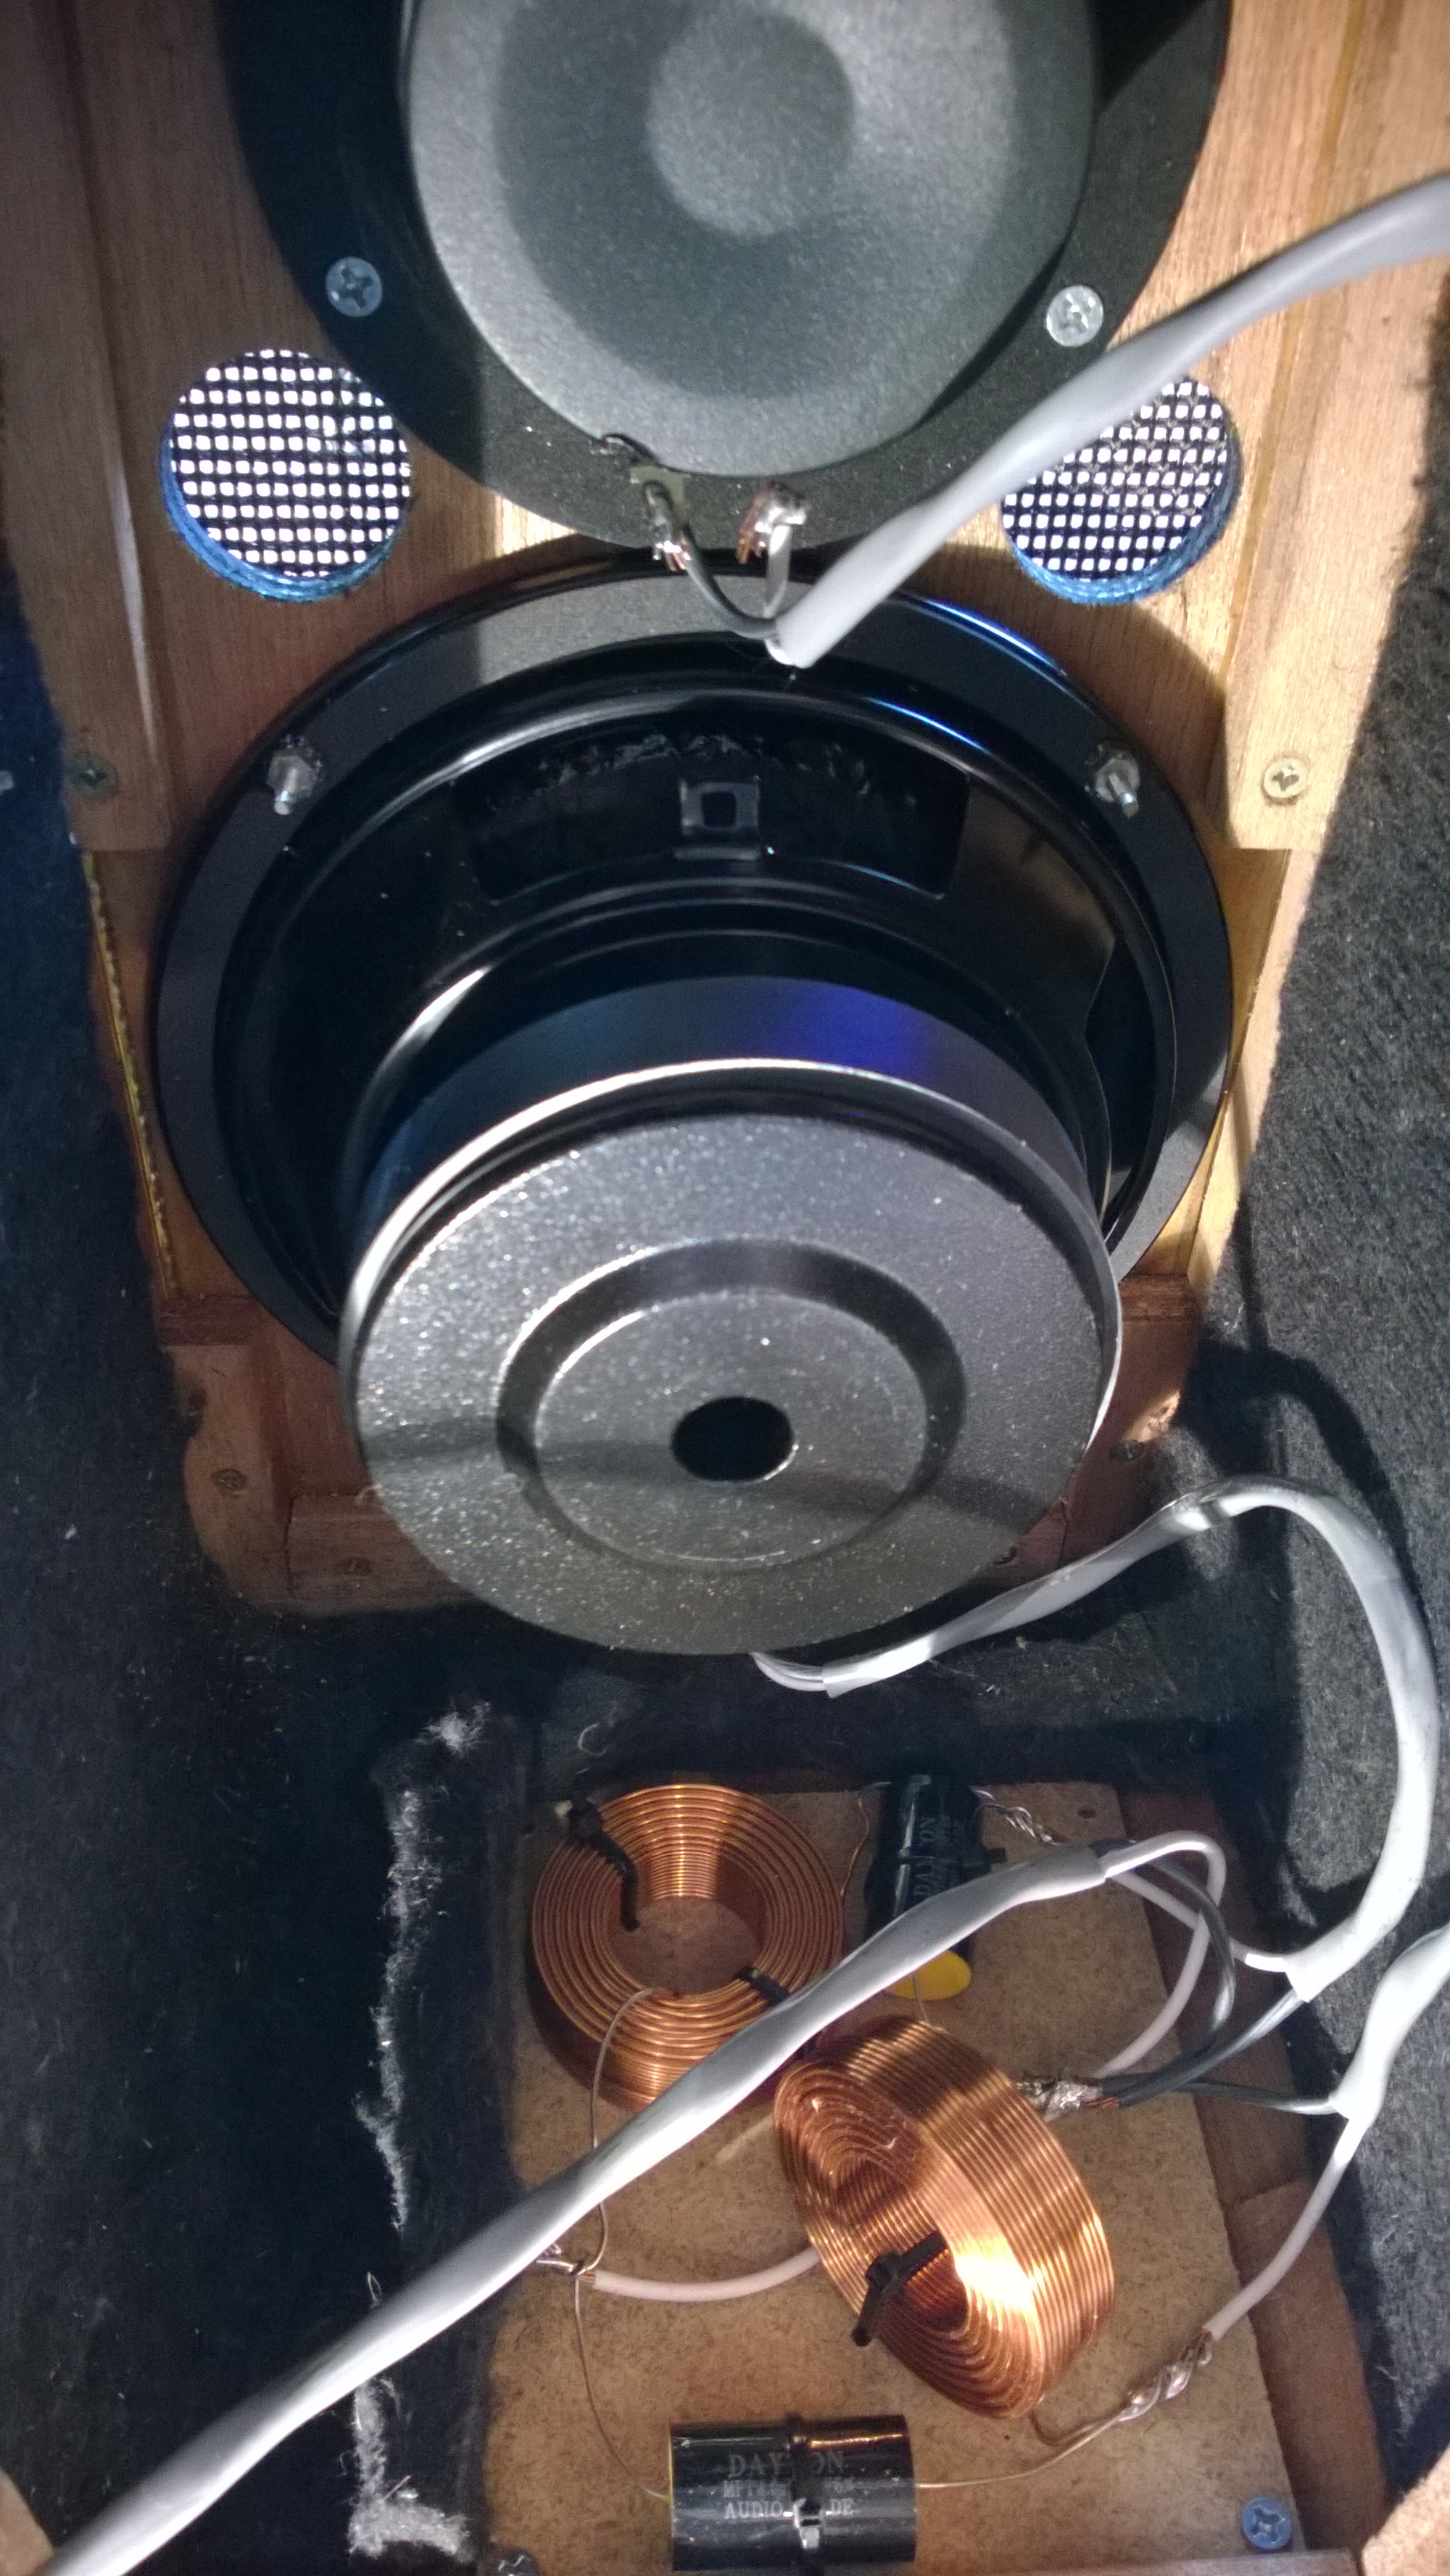
With the help of the staff at Parts Express I selected appropriately sized drivers (the round speaker bits to us humans) and crossovers (the electronics that split high and low frequencies) for my old cabinets. When I went to buy the crossovers I was pleasantly surprised to find they would be out of stock until mid-May. Yes, pleasantly surprised because that meant I would also get to build my own crossovers.
Now, all that remains is to sit back and turn on some music.
I’ve been reading about Arduino in Make magazine for years now and decided to jump in. I picked up a starter kit from Adafruit along with Make’s excellent “Getting Started with Arduino” book. The tutorials were a perfect introduction to electronics and provided easy code to get started modifying. Anyone with even the most basic understanding of computer programming can be up and creating in no time flat.

One thing I’ve been wanting to do for a long time is build a weather station for logging temperature, humidity, etc. The parts for Arduino are easy to come by and there are a ton of examples out there to get you started. That was, however, until I came across Make’s really cool Dryer Messenger project. Built with an Arduino, a network adapter and current sensor, this nifty gadget makes your dryer send out tweets when it finishes a load. Yep, no more forgetting your load of laundry only to find it the next day as a mass of un-ironable wrinkles.


Armed with Make’s excellent instructions, a metal project box from Radio Shack and a non-invasive current sensor I set to work recreating the Dryer Messenger. I am using an Ethernet shield instead of the wireless option used in the article, so I had to change the code a little bit… but that was simple given the sample code.

It took a couple of weekends to get it all together and running, but that was more a function of life getting in the way of fun. Now we can say that we are part of the IOT (Internet of Things) revolution. Our friendly dryer, Sam, is now up and running with his very own Twitter account: @3rdPlaceDryer.