Paula and I bought our first flat panel HDTV back in 2005. The 32″ Samsung was initially installed in our San Jose kitchen before making the trip to Dublin, Ireland and the finally to out home in Bellevue. Back in early 2011 we started noticing some weird artifacts on the screen, it looked like the TV was switching all the images to 8-bit color.

It’s not the biggest TV at 32″ and it’s only 720p, but it fits perfectly in our bookshelf so I decided I’d try to fix it. I’m no electrical engineer, but I have a screw driver and an inquisitive spirit. What else would I need… other than a night in a Holiday Inn Express?
I started trying to debug it and pretty quickly came to the conclusion it was a heat issue. My first guess was dust had built up on a heat sink somewhere inside the set. I couldn’t see anything obvious through the vents in the top or bottom, but I tried a few blasts of compressed air to see if it changed anything. It didn’t. If I couldn’t clean it from the outside I’d clean it from the inside, so I opened up the TV. I learned something that is probably obvious to most: opening up a television is a lot like popping the hood on a broken car… it’s satisfying but also pointless act for 99% of the population (and I’m certainly not in the 1%).
What did I find when I opened up the TV? What I didn’t find was dirt. Sure, it was a little dusty, but nothing that looked like it would be choking the life out of our TV. I was, however still convinced the issue was cooling I decided to try increasing the airflow. My plan was simple, slap some small PC case fans on the top of the TV and block off the rest of the top vents to make sure air was pulled from the bottom and not just flowing in from around the fans.
Armed with a sheet of black polypropylene from TAP Plastics and a set of four 50mm case fans I went to work on my TV. I carved up the plastic, screwed the fans in place then duct taped the whole thing to the top of the TV. My improvised fan and baffle worked (almost) perfectly, the TV can now run as long as we like without the picture going all wonky on us.
I say it was “almost” perfect because it was a prototype… the plastic was too thin and the duct tape wasn’t a great hold and had to be redone every couple months. It was, however, good enough that it was on the back of the TV keeping it going for the past three years.
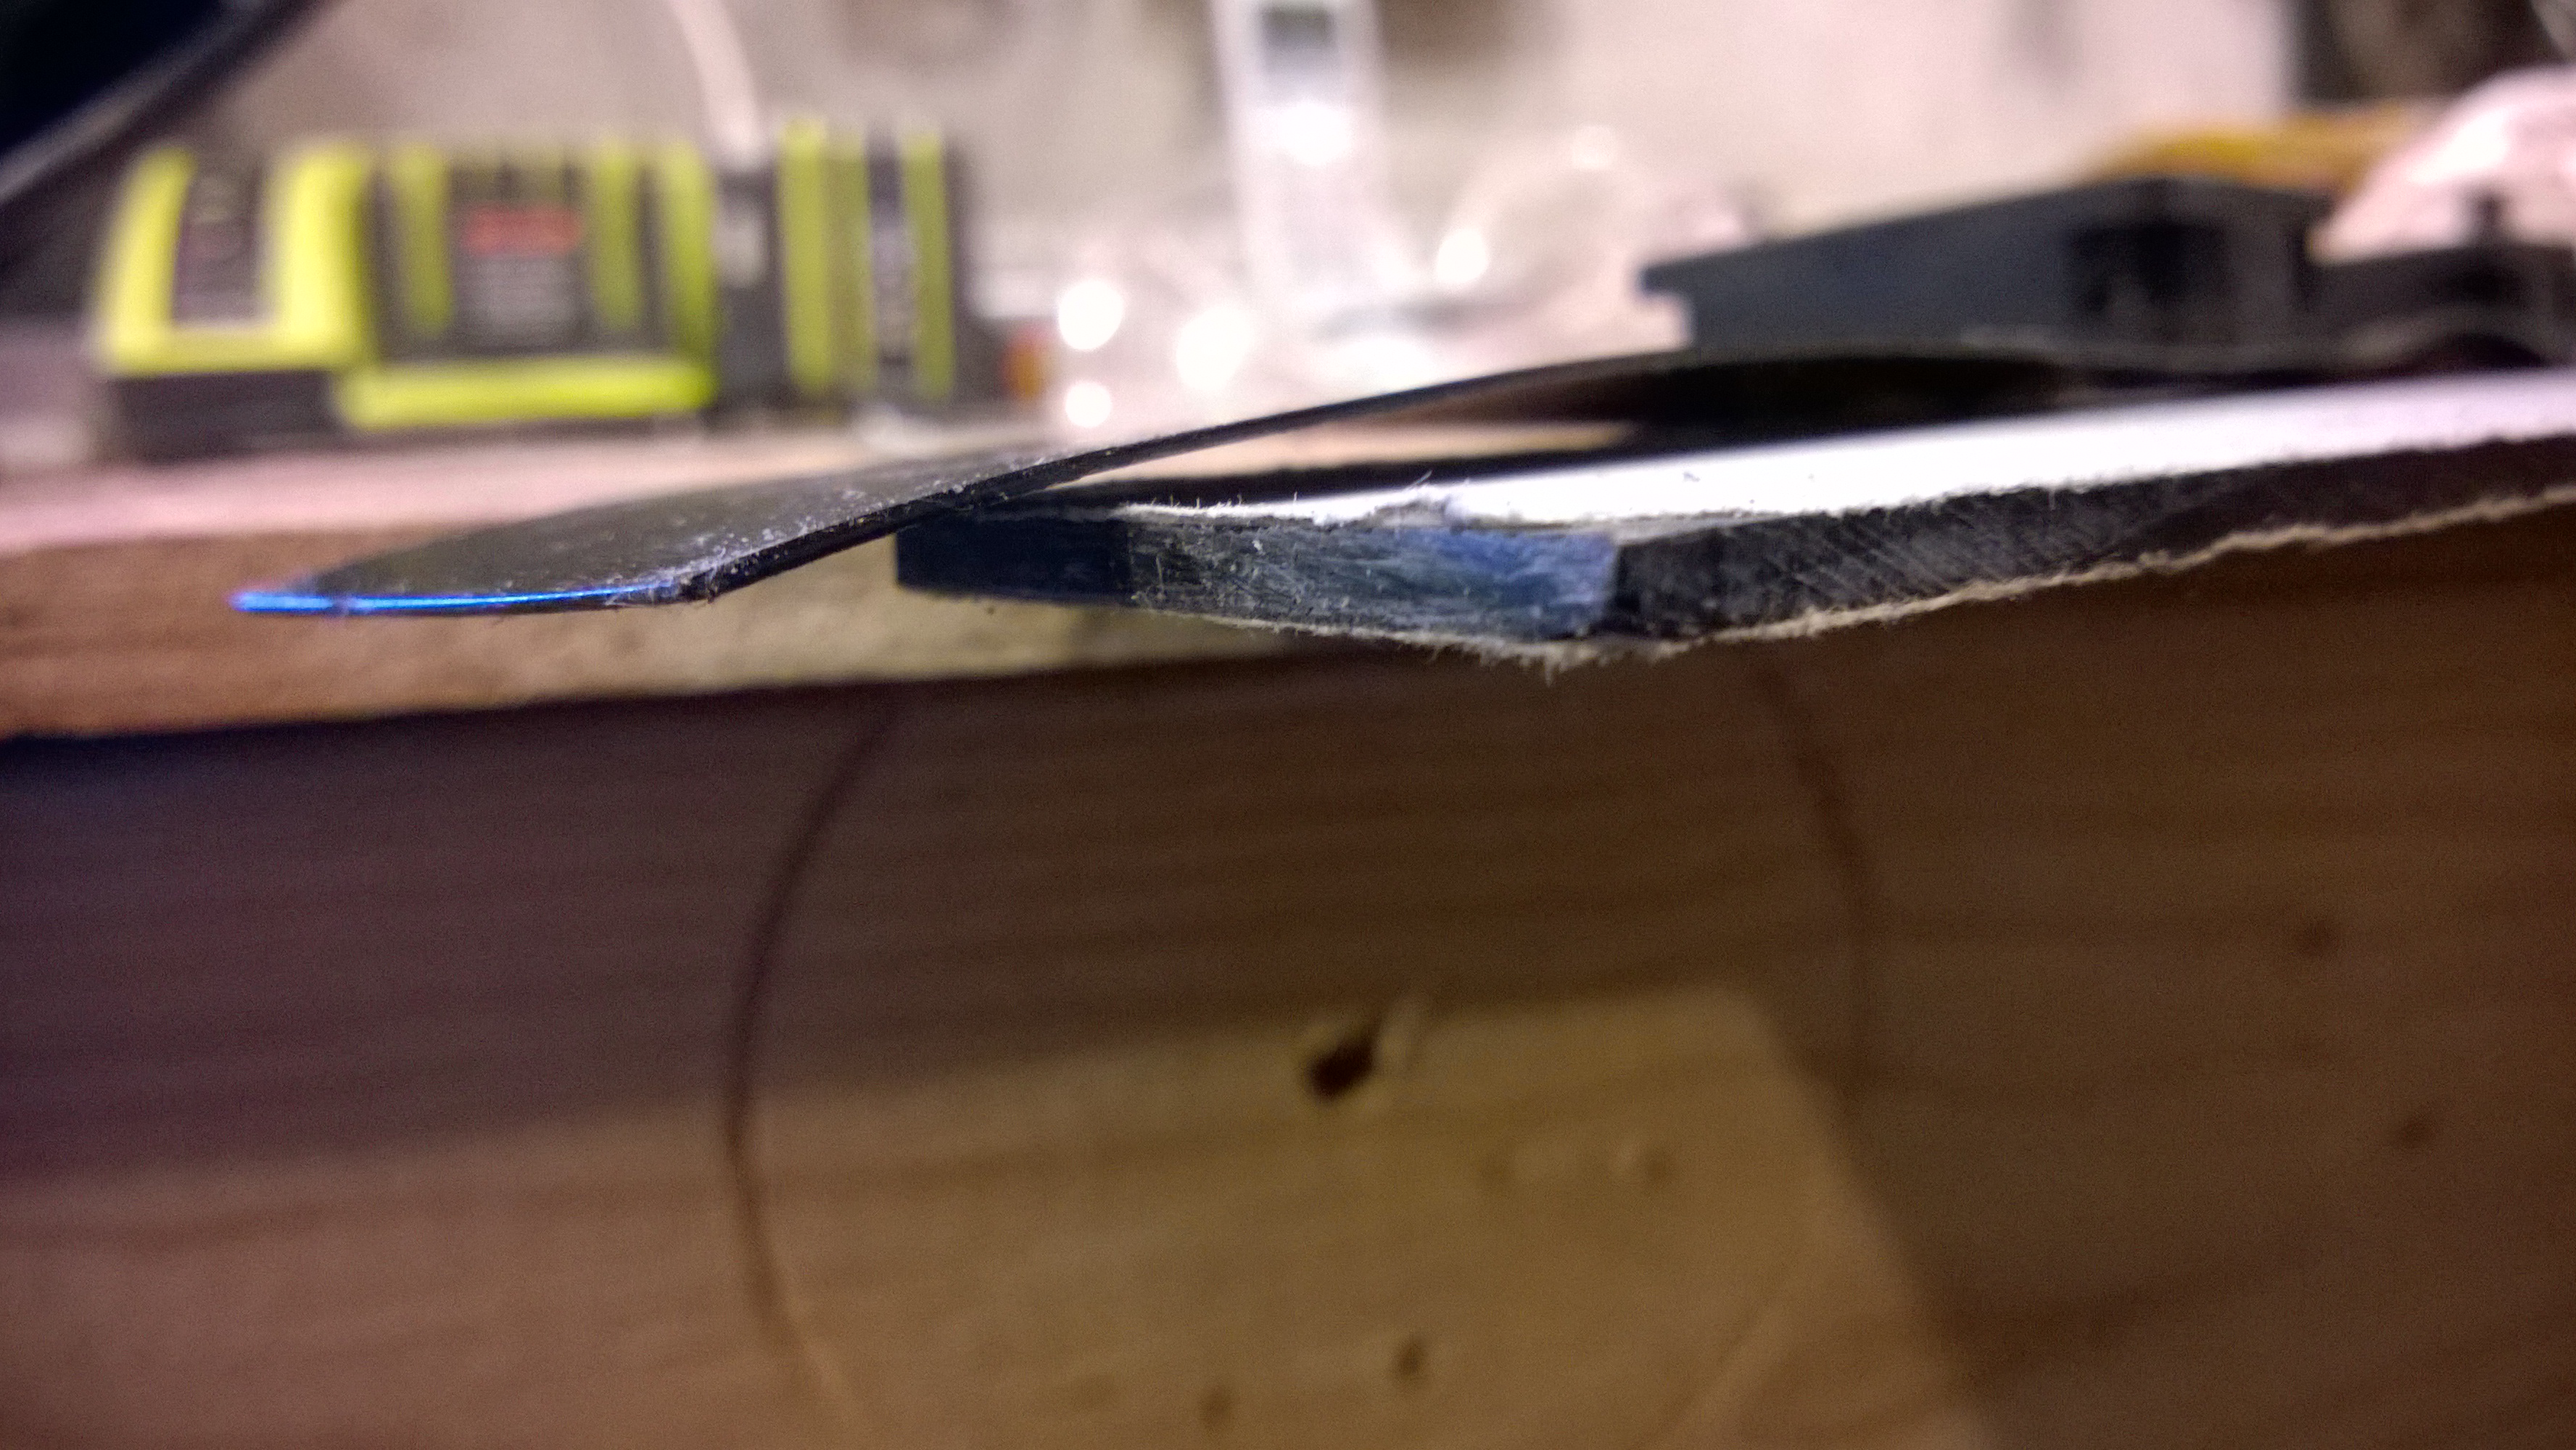
The solution was great in concept but lacking in execution. It was high time to turn the prototype into a finished product so I headed back to TAP plastics and picked up a piece of scrap acrylic for the bargain price of $0. Because I already had a great template in the form of the prototype it was quick to transfer to the new plastic stock.
The finished product is solidly built and screwed directly to the TV (no more slipping!). It actually has way more attention to detail than a hidden hack has any right to be. I suppose I’ll just have to spend more time looking at the back of our TV.